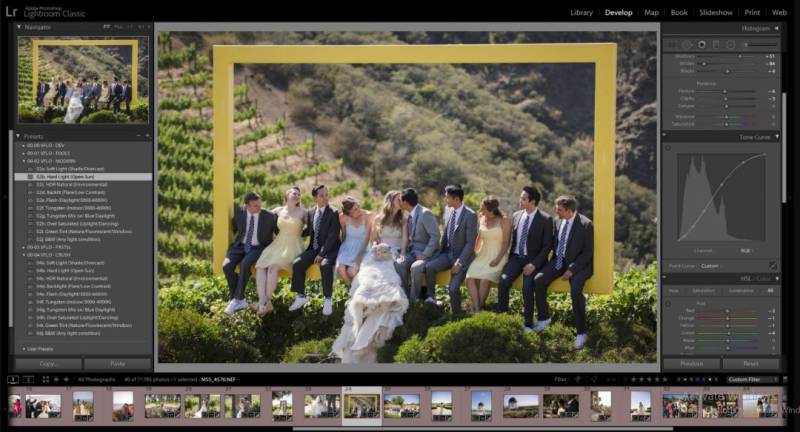
Exploring Lightroom's Tone Curve: Fine-Tuning Your Images
July 14, 2023 (3 years ago)

Lightroom, Adobe's powerful photo editing software, offers a wide range of tools to enhance and transform your images. Among these tools, the Tone Curve stands out as a versatile and precise tool for adjusting the tonal range and contrast in your photos. In this article, we will delve into the world of Lightroom's Tone Curve and discover how it can help you fine-tune your images to achieve the desired look.
Understanding the Tone Curve
The Tone Curve is a graphical representation of the tonal values in your image. It allows you to adjust the brightness and contrast by manipulating the curve, which consists of a line representing the original tonal values and control points that you can move to modify the curve.
Accessing the Tone Curve in Lightroom
To access the Tone Curve, open an image in the Develop module of Lightroom. In the Basic panel, you'll find the Tone Curve tab. Click on it to reveal the Tone Curve graph and controls.
Different Sections of the Tone Curve
The Tone Curve in Lightroom is divided into four main sections: Highlights, Lights, Darks, and Shadows. Each section corresponds to a specific range of tonal values in your image, allowing you to make targeted adjustments.
Adjusting the Tone Curve
Presets
Lightroom offers a variety of Tone Curve presets to give your images different looks and styles. Experiment with these presets to see how they affect the tonal range and contrast in your photo.
Point Curve
Lightroom provides several methods to adjust the Tone Curve. The most common is the Point Curve, where you can manually add control points to the curve and drag them to adjust the tonal values.
Parametric Curve
Alternatively, you can use the Parametric Curve, which provides sliders to control the curve's shape. Adjust the sliders for Highlights, Lights, Darks, and Shadows to fine-tune the tonal values in each section.
RGB Channels
Lightroom's Tone Curve also allows you to work with individual RGB channels. By selecting the desired channel (Red, Green, or Blue), you can make adjustments specific to that color channel, giving you precise control over the overall color balance in your image.
Using the Tone Curve for Editing
Adjusting Contrast
The Tone Curve is an excellent tool for enhancing contrast in your images. By creating an "S" curve, you can increase the contrast between the highlights and shadows, adding depth and dimension to your photo.
Recovering Highlights and Shadows
With the Tone Curve, you can selectively recover blown-out highlights or lift shadow details. By adjusting the curve in the Highlights and Shadows sections, you can bring back lost details and achieve a more balanced exposure.
Fine-tuning Exposure
The Tone Curve allows you to fine-tune the overall exposure of your image. By manipulating the curve's mid-tones, you can brighten or darken the entire image without affecting specific tonal ranges.
Creative Editing
The Tone Curve is not only a tool for technical adjustments but also a creative tool. By carefully manipulating the curve, you can create unique looks and moods, adding your artistic touch to the image.
Conclusion
Lightroom's Tone Curve is a powerful tool that empowers photographers to fine-tune the tonal range, contrast, and overall look of their images. By understanding how to use the Tone Curve effectively, you can take your editing skills to the next level. Experiment with different adjustments presets, and channel options to achieve the desired mood and enhance the visual impact of your photos. Let the Tone Curve be your guide as you explore the artistic possibilities within your images and create stunning results in Lightroom.
Recommended For You


